First I look for free images I like online. Free is the key because then you can use them without copyright issues.
Then I open PowerPoint, create a rectangle about the size of the header I want, paste the chosen image, and add a textbox.
I have a Mac so there is a program called Grab where you can copy any part of the screen. I use this to make a picture file out of the header in PowerPoint by just selecting the header area and nothing else. This creates at TIFF file but if you reopen that TIFF file and then save it as a JPEG, you can use it in Blogger. I'm sure there is a similar program to Grab on PCs.
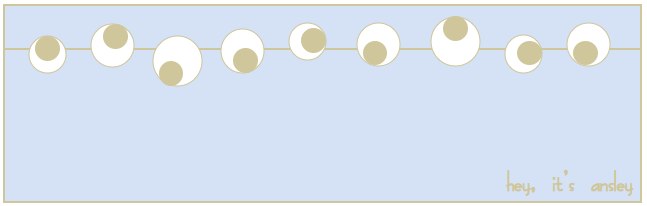
Sometimes I just use PowerPoint's autoshapes (circles, rectangles, arrows, etc) to create something. That's how I made these headers.


To look for images, I often choose the "add image" icon and choose the "clip art" option. The Clip art gallery window opens and it isn't that great but at the bottom, you can click on the "online" button and find lots of good images. Once you have imported an image and added it to the PowerPoint slide, you can manipulate it. Some images will let you right-click on them and choose "edit picture" You will get a warning that you are about to convert it to a Microsoft Office drawing. That's OK. It will now be lots of parts of the picture and you can delete the parts you don't like. Or copy and create more of the parts you do like. I did that with this header I haven't used yet.
 I used stars from one image, the moon from another, and recolored it all. The speech balloon thing is an autoshape that you can adjust and add text. I really liked the stars but wanted more of them and in different places. I broke the image apart and changed it. But be careful, remember it is now lots of small pieces rather than one big image. When you've made your changes, you can select the whole image and "regroup" it so it will be one image again.
 Another site I haven't used yet but seems to have lots of good images is Briar Press.
I also use different fonts to make it more unique. Here's the post about sites I like for free fonts.
2 comments:
Honestly, you are one of the craftiest girls I know!!!
thanks for the tutorial girlie!
Post a Comment